Documenting My Arduous Walk Across Singapore
(36km Coast to Coast trail)
By Shawne Koh
The 36km coast to coast (C2C) trail - spanning the West to the East side of Singapore, is made up of various park connectors linked across our island. It's the ultimate physical endurance challenge for Singaporeans to embark on through our green spaces. I decided to take this on without prior training and document this journey here.

Content Planning and Research
For me, as a travel content creator on YouTube, this was something interesting I knew I had to try out and document properly, since overseas travel wasn't possible in 2020 and I've always liked to challenge myself physically and mentally once in a while.
Naturally, I did my research and came across many guides and YouTube videos to aid my planning. This was to:
- Visually understand how the route and landmarks look like.
- See how people are documenting their journeys and how I can share mine.
- Mentally prepare myself for this arduous walking journey.
Since there were already a couple of videos of the C2C walk out there, I knew I had to be different by filming the journey as visually pleasing as possible, and one upping the challenge. I figured, just about a week into my scheduled walk, that I'd do it in ridiculous fashion - by trekking 36km across Singapore in classic rubber sandals. I absolutely loved this idea- until the actual trek.

Equipment That I Brought
This is always a tough one, right? - deciding on what gear to bring. I needed the right film making tools to tell the story effectively and beautifully while not overloading myself as I was doing this alone over a crazy amount of walking distance.

The stuff that I brought, excluding some light snacks
The majority of the video was shot on the Sony a7III (a great hybrid photo + video camera), as well as the 16-35mm f2.8 GM lens which is a really versatile ultrawide angle zoom lens for capturing myself, landscapes and just about everything. This lens was used almost throughout the entire journey.


Alpha 7 III | FE 16-35mm F2.8 GM
Shots taken using the a7III + 16-35 f2.8 GM ultrawide zoom lens. Great for capturing selfie shots, landscapes, and even close ups.
I also brought along the 70-200mm f4 OSS to capture any potential wildlife, details and distant shots. This telephoto lens was used about 10% of the time. Though it's a heavier lens to bring on a trek with little usage, yet it was important for me to get more varied shots and close ups when needed.


Alpha 7 III | FE 70-200mm F4 G OSS
Shots taken from the a7III + 70-200 f4 G OSS telephoto zoom lens. Great for capturing wildlife and distant shots.
Lastly, my trusty tripod was needed to capture static walking shots of myself hiking through the various locations. This gives a sense of scale and authenticity where things were happening just as it was.
Landmarks Along the Trail
During my research, I noted that there weren’t a lot of scenic landmarks on the actual trek. It was mostly just pathways along the road, which doesn’t make for good visual content. Thus, I had to make quite a bit of detours and go off-trail to visit more prominent locations around the trail.
Checkpoint 1 - Jurong Lake Gardens


The Lone Tree, Jurong Lake Gardens
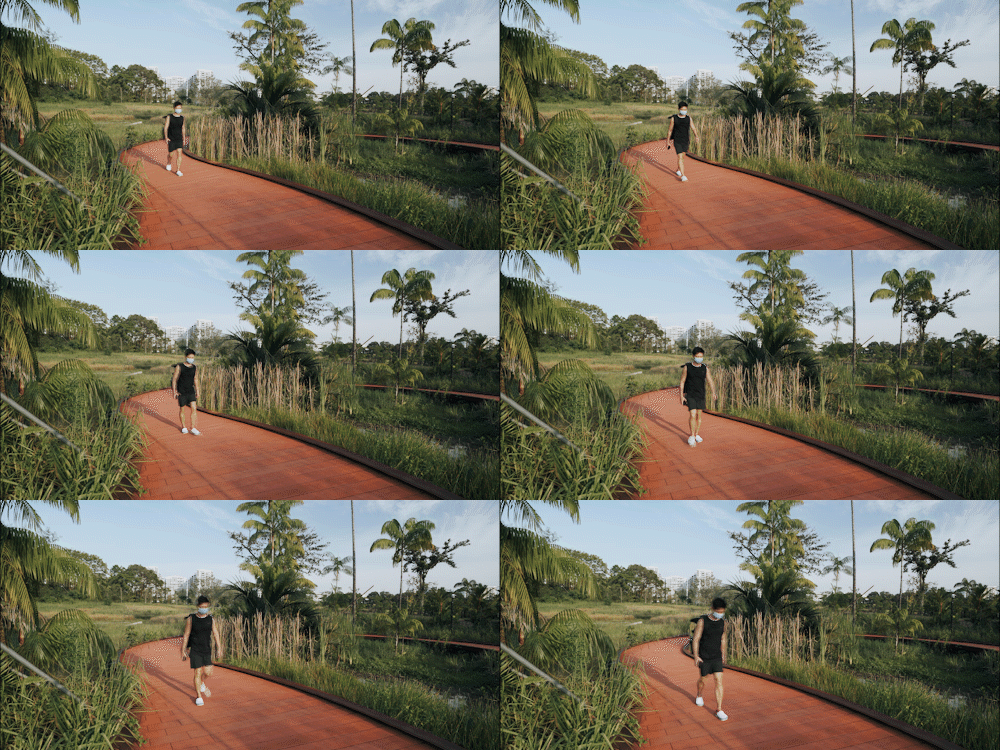
Rasau Walk, Jurong Lake Gardens
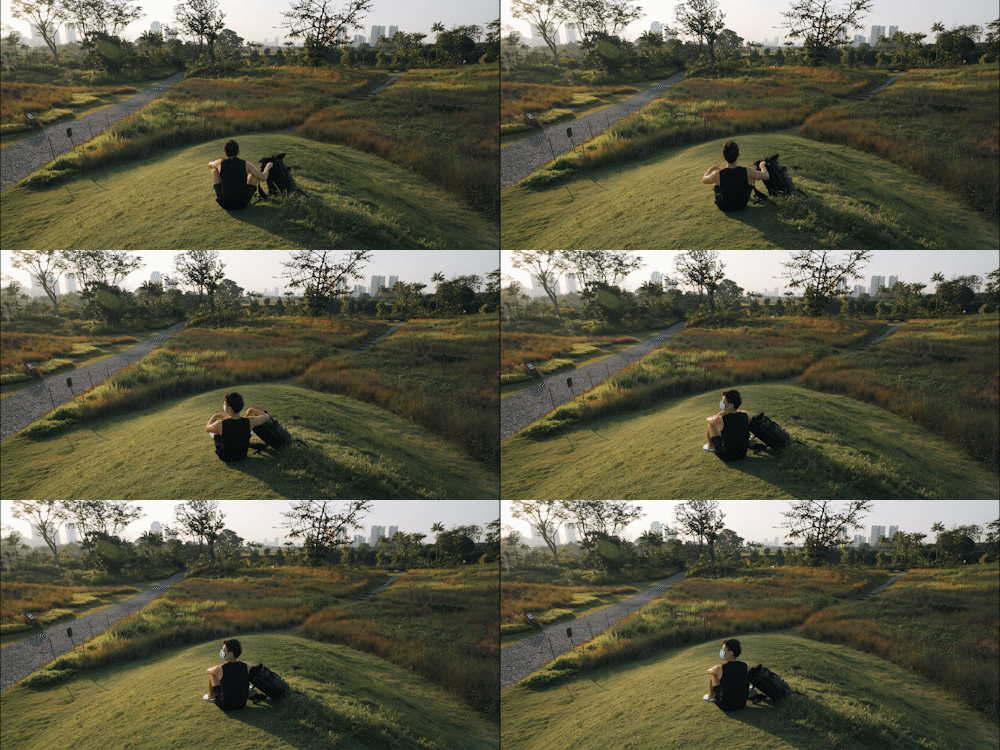
A tiny hill to enjoy the beautiful scenery at Jurong Lake Gardens
Jurong Lake Gardens is such a beautiful park, with many scenic spots to capture but the actual checkpoint starts at the north tip of the park along the main road. I spent about 2.5 hours filming at this park because of the many gorgeous spots and trekked 2 to 3km before actually starting at the 1st checkpoint. Time really flew by at this park!
Checkpoint 2 - Bukit Batok Nature Park


Quarry Pool, Bukit Batok Nature Park
The trail just passes by this park along the road, so I had to go off trail and hike up the park to get to this tranquil quarry. It's my second favourite spot of the trek as it was quiet during the weekdays, and the view was scenic. You can also visit a WWII memorial plaque within the park that commemorates fallen soldiers during the war.
Lastly, there's also a similar looking quarry nearby called Little Guilin, but this is closer to the C2C trail.
Checkpoint 3 to 4 – Bukit Timah Road

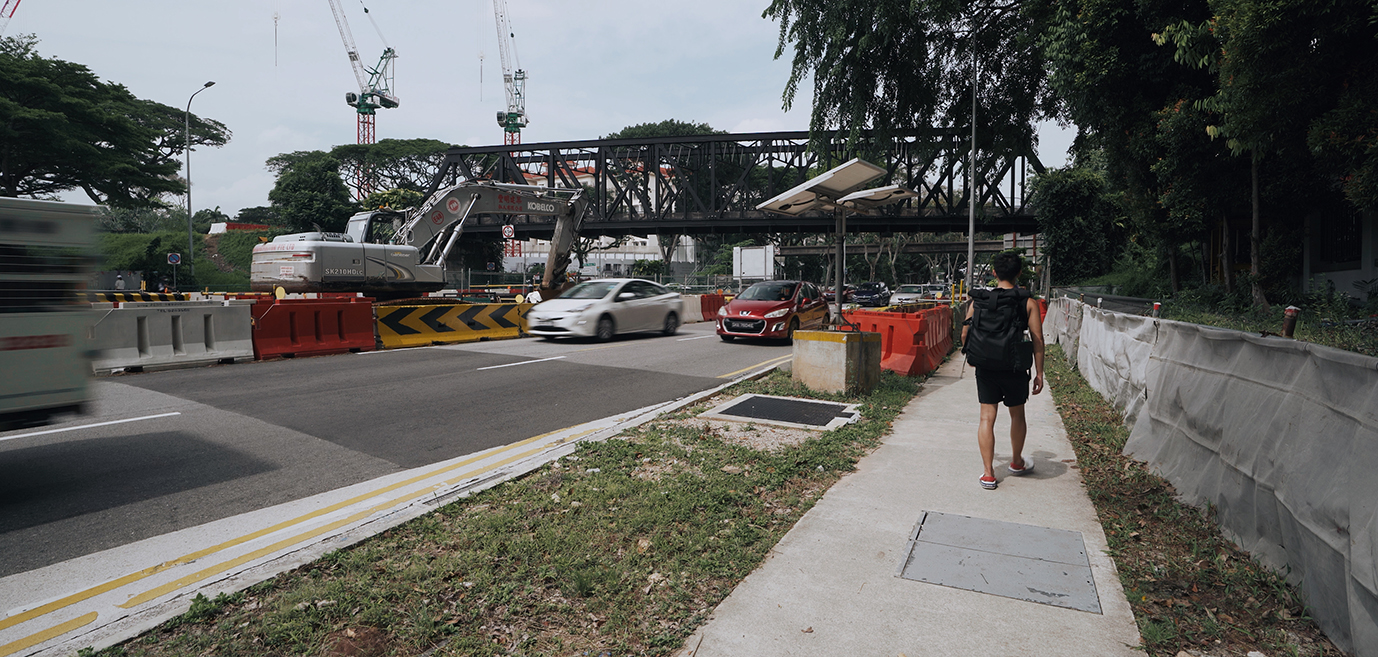
This is a long and dreary part of the trail because it’s just a straight path along Bukit Timah Road. You’d pass by the old Bukit Timah Railway, which is the gateway to the very popular Green Corridor and Clementi Forest.
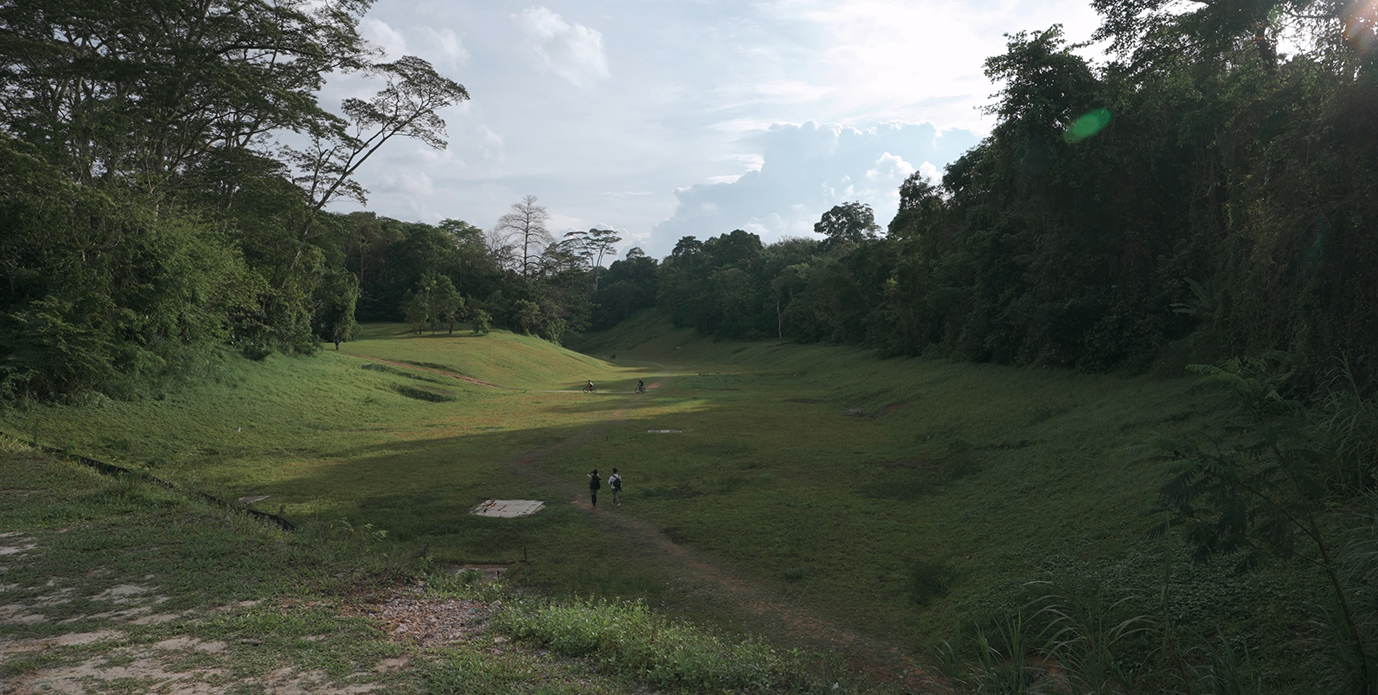
Vast green valley at The Green Corridor
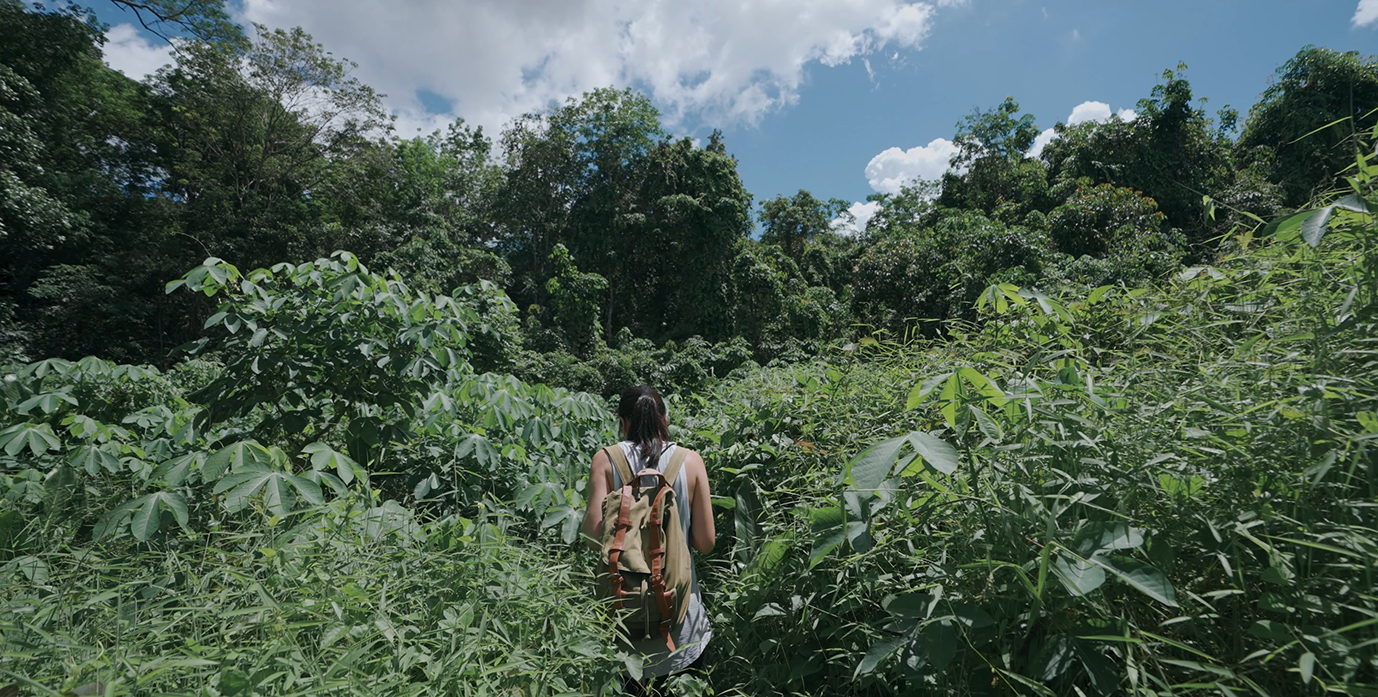
Clementi Forest, The Green Corridor
There are 2 major landmarks you can check out here– a vast and open valley which makes you wonder if you’re still in Singapore- and the Clementi Forest which has a beautiful and dense unofficial trail. It has an extremely rich amount of biodiversity, with overgrown trees towering over you and lots of muddy trails so it’s something to consider if you’re feeling adventurous. I did not check out the Green Corridor during my C2C hike as it would easily take up half a day to explore the landmarks around this area.
Checkpoint 4 to 5 – MacRitchie Reservoir

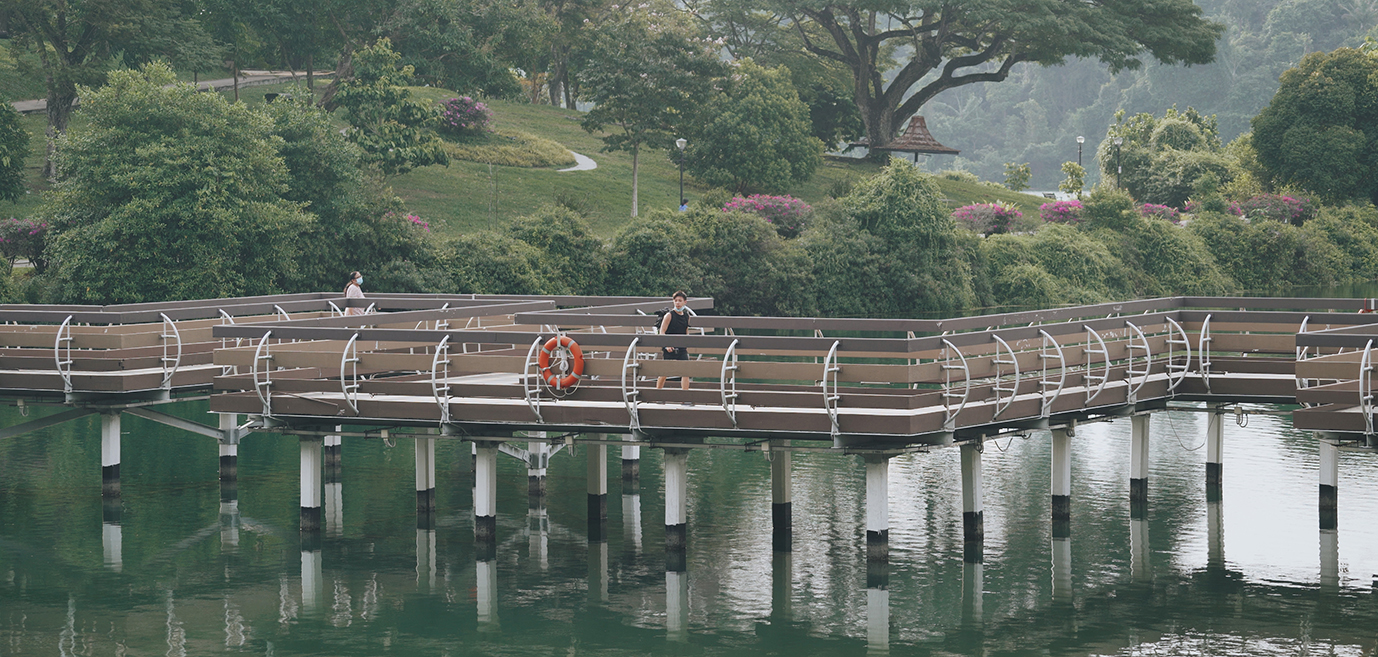
Went slightly off trail to capture this beautiful bridge called the Zig Zag Bridge at MacRitchie Reservoir, which is Singapore’s oldest reservoir that was completed in 1868. It’s huge, and can take more than half a day to fully explore the area. One very prominent landmark here is the Treetop Walk – a definite crowd favourite!
Checkpoint 5 – Bishan - Ang Mo Kio Park

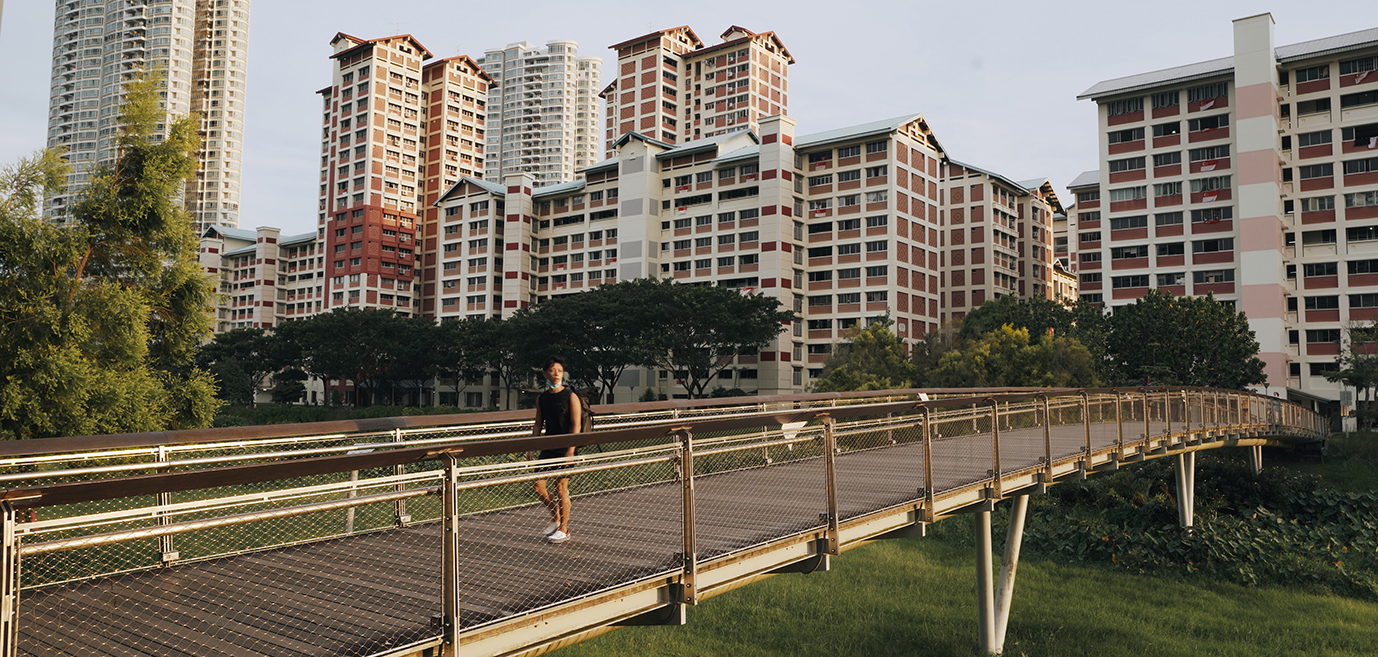
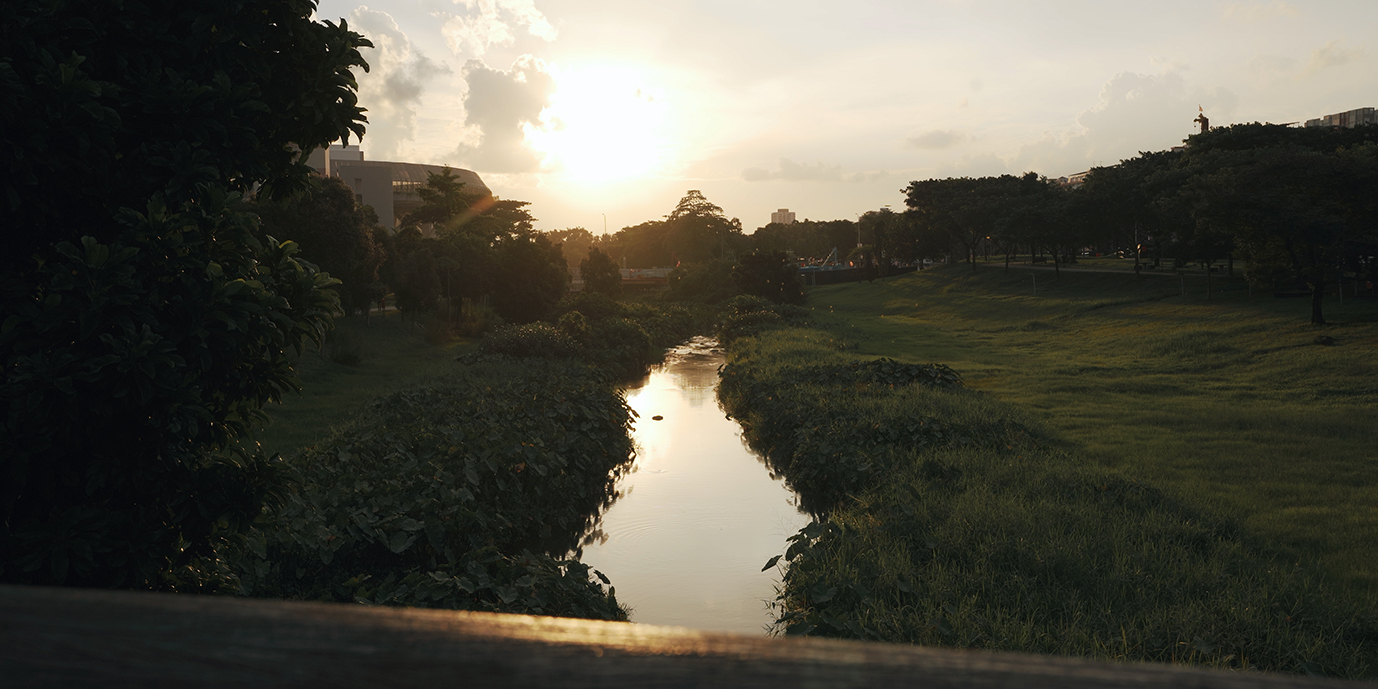
One of the most scenic neighbourhood parks around Singapore, I had to go off trail to capture this scene at one of the bridges during sunset. Absolutely gorgeous, however, it can get crowded during 6-7pm with many families and people exercising.
Checkpoint 6 to 7 – Buangkok to Sengkang

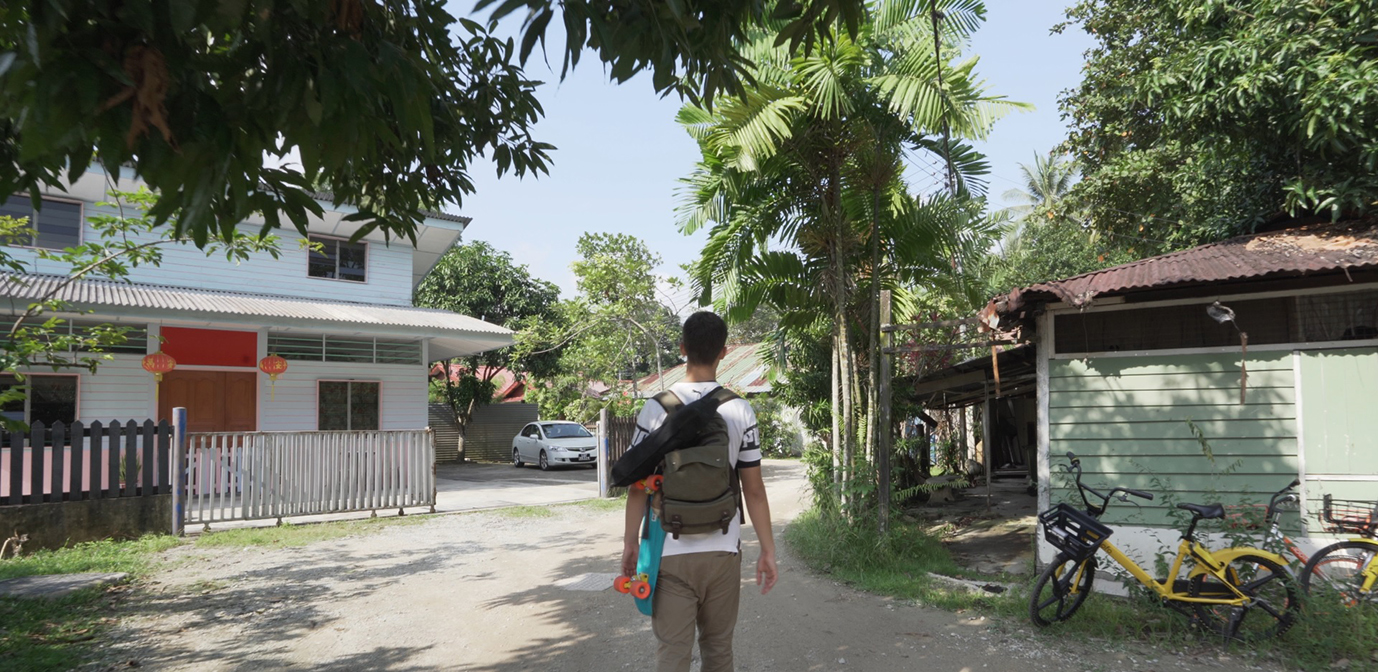
Kampong Lorong Buangkok, taken from another shoot during daytime
A beautiful park connector by the river. You’ll pass by Kampong Lorong Buangkok which is the last remaining kampong (village) in Singapore mainland. Unfortunately, it was getting late at night for me (I was pretty exhausted at this point), so I didn’t make a stop here.
The Challenges of Documenting this Journey - Physical
I mean, the ultimate challenge of this was the ACTUAL walking distance (36km) of the entire trail. To top it off, I was wearing rubber sandals and got blisters towards the middle-end of the trail (I forgot to bring plasters) and eventually, went barefoot because of the blisters.
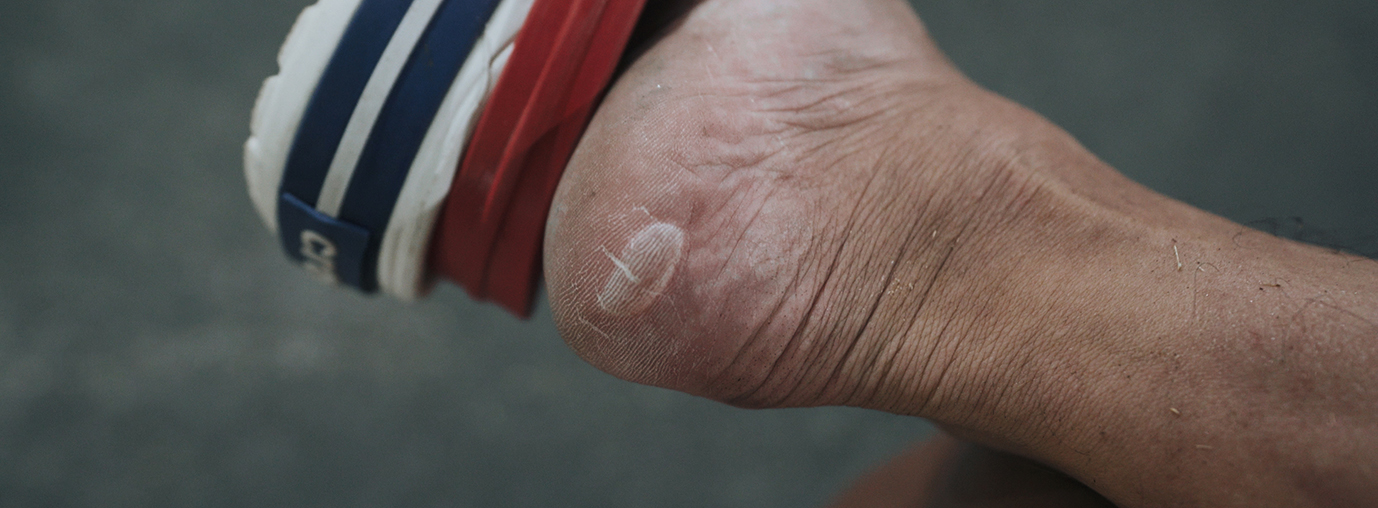
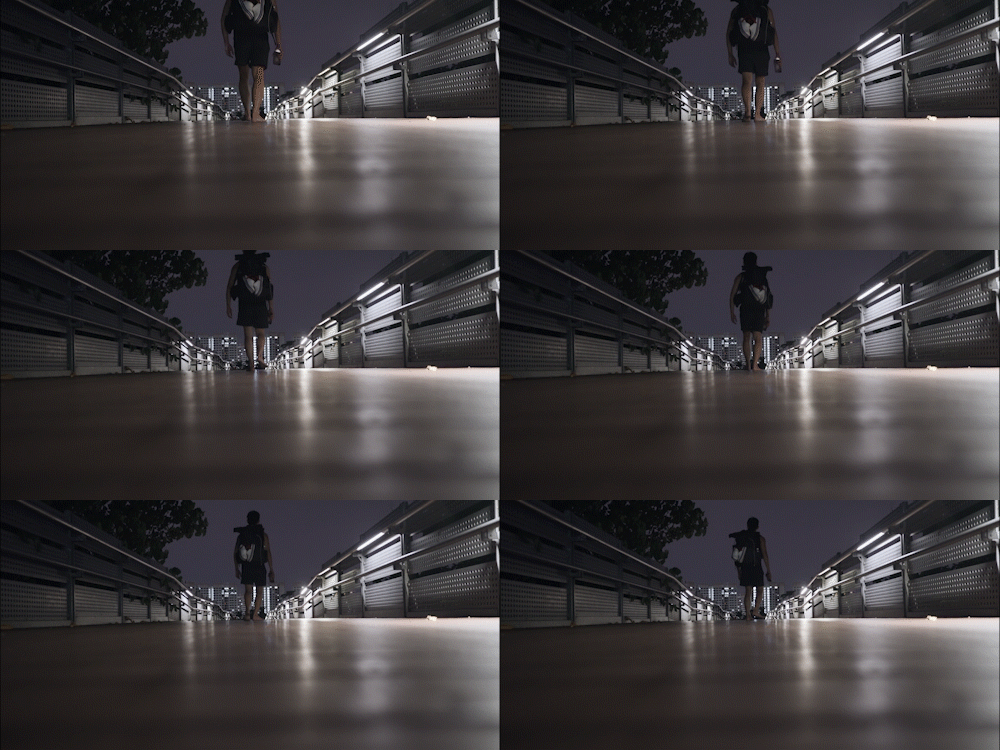
Scene at Sengkang, walking barefoot
Unfortunately, this led to me giving up at Checkpoint 7 (Sengkang), which was just 4km away from the finishing line, but my feet were burning too much from walking barefoot.
The Challenges of Documenting this Journey – Extended Time for Filming
Apart from the physical challenge, I had to detour and go off trail for quite a bit to capture more prominent landmarks and shots to ensure that the project had enough visuals. This stretched the duration way longer than expected. Did I mention capturing the video thumbnail and photos? Gosh that took time too.
Creating hiking videos like this, meant that for many shots I had to set up the tripod, adjust the camera settings, walk to the desired position, walk across/away from the frame, and head back to the tripod before packing up. A short 4 second scene could take 5-10 mins depending on the scene.
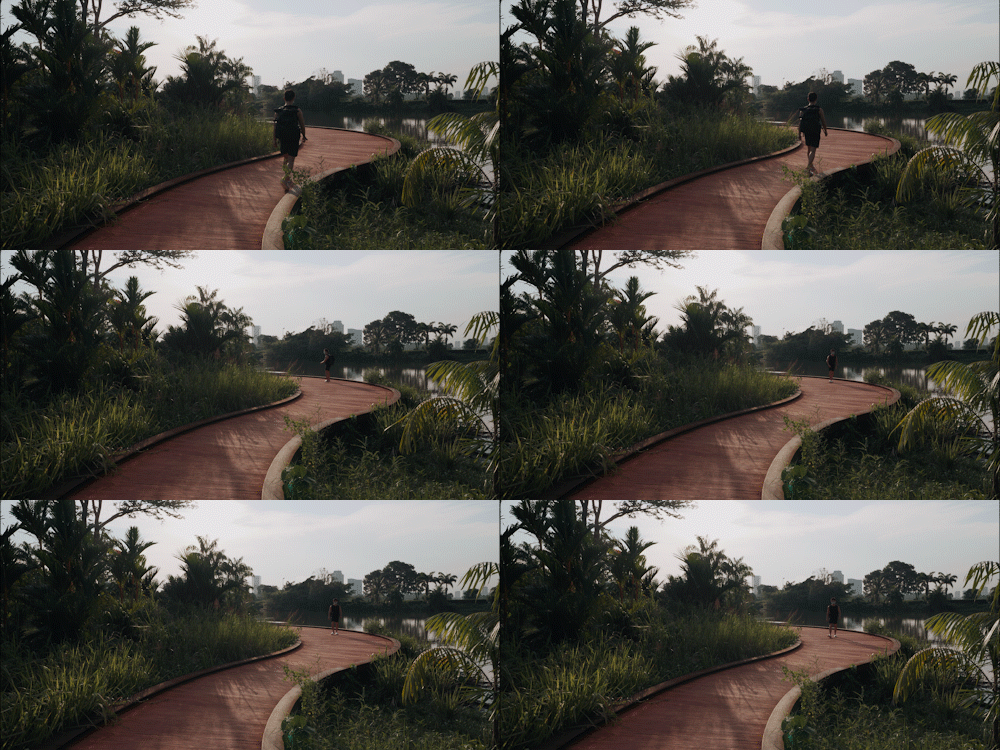
Scene at Rasau Walk, Jurong Lake Gardens. Turning back to get the camera
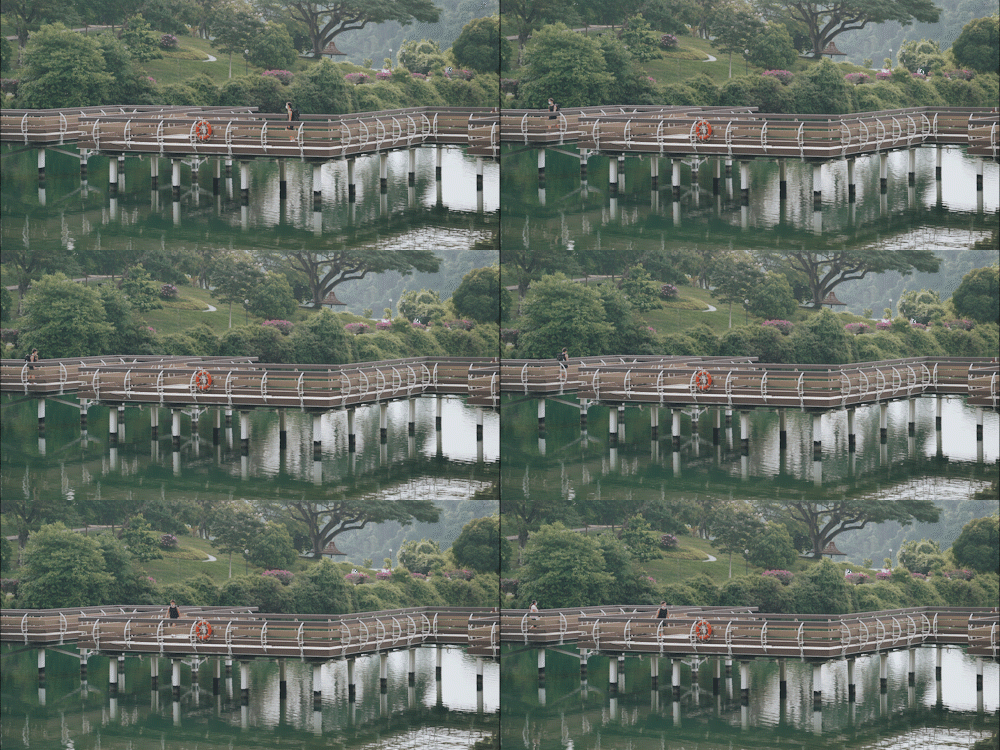
Scene at MacRitchie where I shot from a far distance using the telephoto lens. The camera rolled for 3.5 mins.
The Challenges of Documenting this Journey – Being Alone
Doing this and filming alone also added to the challenge. There were many times when I wished that there was someone else along, to ride the physical exhaustion together, share some of the load, and push each other on. I often questioned myself during the trek if there was any point in doing this.
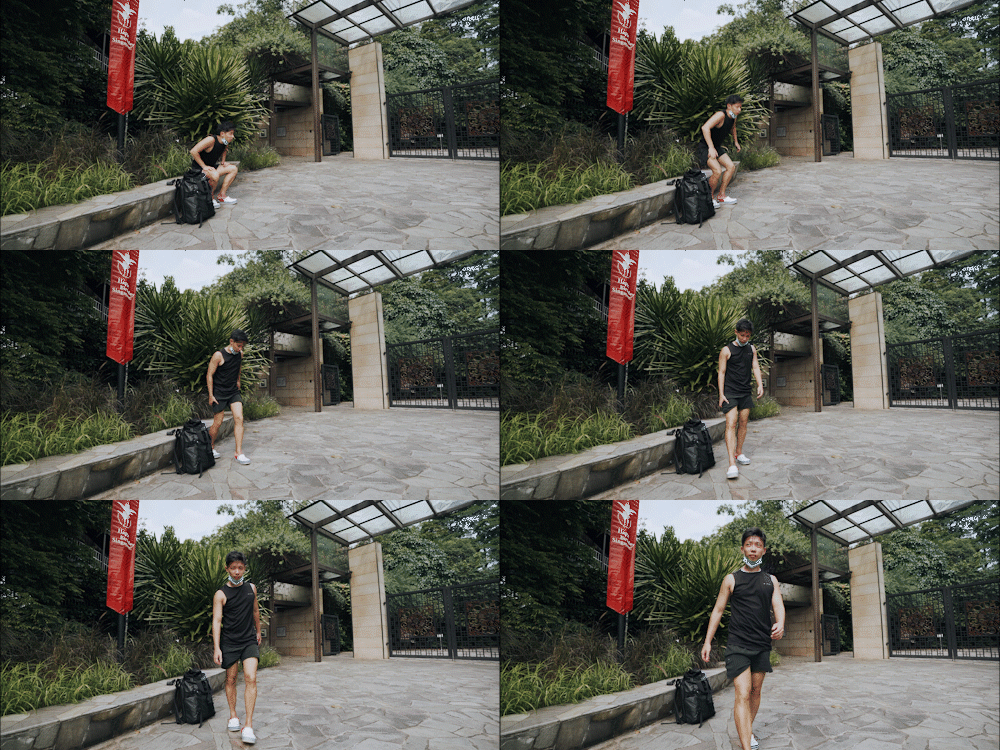
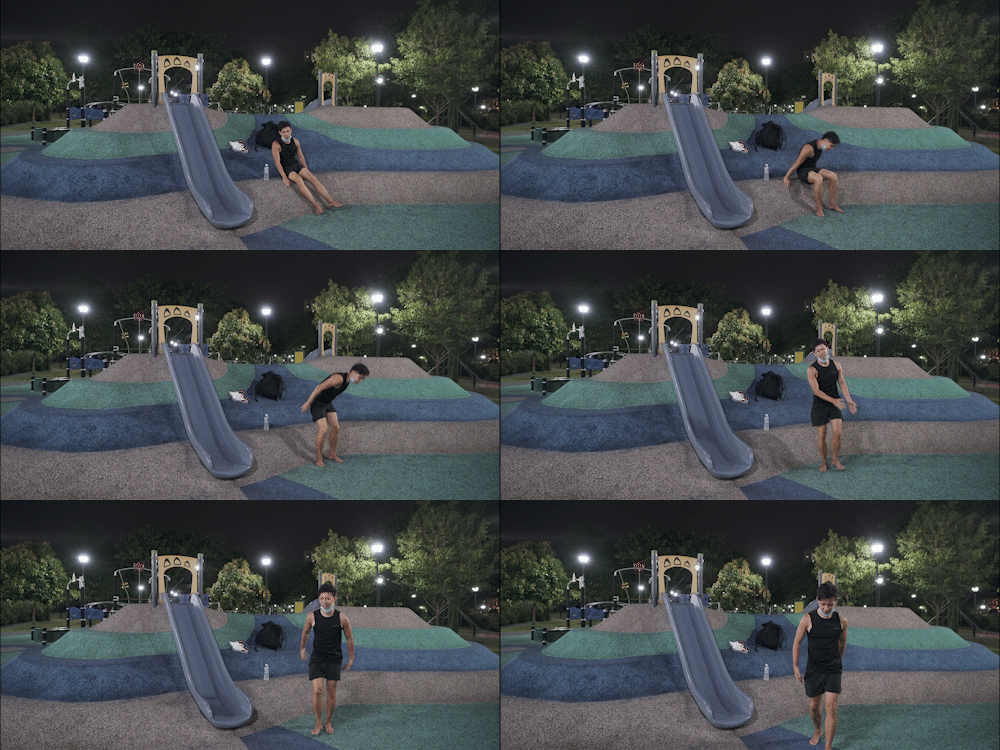
Scenes at Botanic Gardens and Luxus Hill Park, legs feeling extremely sore
Wrapping it up
But at the end of the day, I’d rather be doing this than relax at home, dreaming of the next getaway. I’m glad to have pushed myself out of the usual comfort zone- to head outdoors, experience new sights of Singapore that I’ve never seen, document this unique experience and highlight my struggles, and share it with the rest of the world. I really did enjoy the documentation and creation process.
Also, don’t fret if it feels like you have no one to head to the outdoors with. There is beauty in exploring on your own – you get to really soak it all in, spend time with your thoughts, and capture images at your own pace.
So, I’ll give myself a pat on the back- even though the challenge was so close to completion. Till the next adventure!
Disclaimer: The opinions expressed in this publication are those of the author. They do
not reflect the opinions or views of Sony Digital Workshop